When you use a pre-build template with Airtable, configure these 3 parameters: airtable_table_name, airtable_base_id and airtable_token_name. And you also need to grant flows.network to access your Airtable via the API token provided by Airtable.
| Name | Value | Remark |
|---|---|---|
airtable_table_name | A string of alphabets begins with tb | the name of the table you want to add data, which you can find on Airtable. |
airtable_base_id | A string of alphabets begins with app | the base id to which the table you wish to add or retrieve data belongs, which you can find on Airtable. |
airtable_token_name | A string of word (s) | the name of the Airtable API token, which is defined by you. |
In this article, I will show you how to configure these parameters to make your flow work.
Create a flow from a template
flows.network will give you the UI instruction when creating a flow from a template.
Configure airtable_table_name, airtable_base_id and airtable_token_name
Generally, you can see the following image.

On the top of the section, you need to enter airtable_table_name, airtable_base_id and airtable_token_name. As I mentioned before, airtable_table_name and airtable_base_id tell flows.network where to add or read data.
So the first step is to go to your Airtable base and get the current URL.
https://airtable.com/appNEswczILgUsxML/tblyMHEVEkFkHM7Z1/viwdHLVHdR603VNlL?blocks=hide

                    |----base_id-----| |----table_name--|
The base_id is begun with app and the table_name is begun with tb. Copy and paste the two parameters.
The last one is airtable_token_name. Here you can name your API token.
Add your Airtable API token
After typing these parameters, click the purple Connect button to add your Airtable API token. Then you will be redirected to a new page.
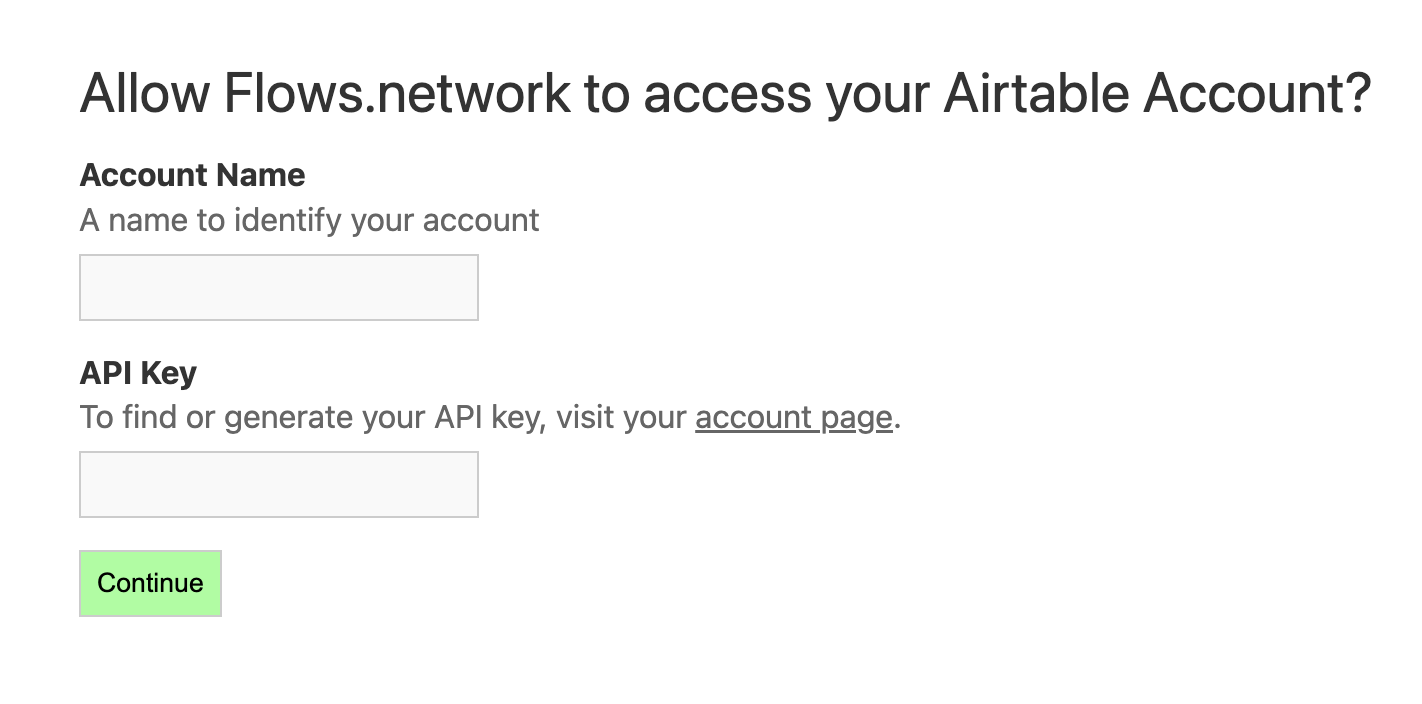
Give your Airtable API token a name, which should match the airtable_token_name you set earlier. Then copy and paste your token here. After that, click on the Continue button and you will be redirected to the Airtable integration page, and the token you added will be popped into this page. Then close this tab and go back to the Creating a Flow page to finish the flow. Once you connect successfully, you won’t do it again when you create another flow.
Or you can also add your Airtable token before creating a flow. Once you finish this, you don’t need to connect it again when you're creating a flow.
After you sign in flows.network, go to the Airtable integration page and click on Connect button. Then you will be redirected to a new page.
We need to name your Airtable API token and copy and paste your token here. After that, click the Continue button, and you will be redirected to the Airtable integration page, and the token you just added will be popped on this page.
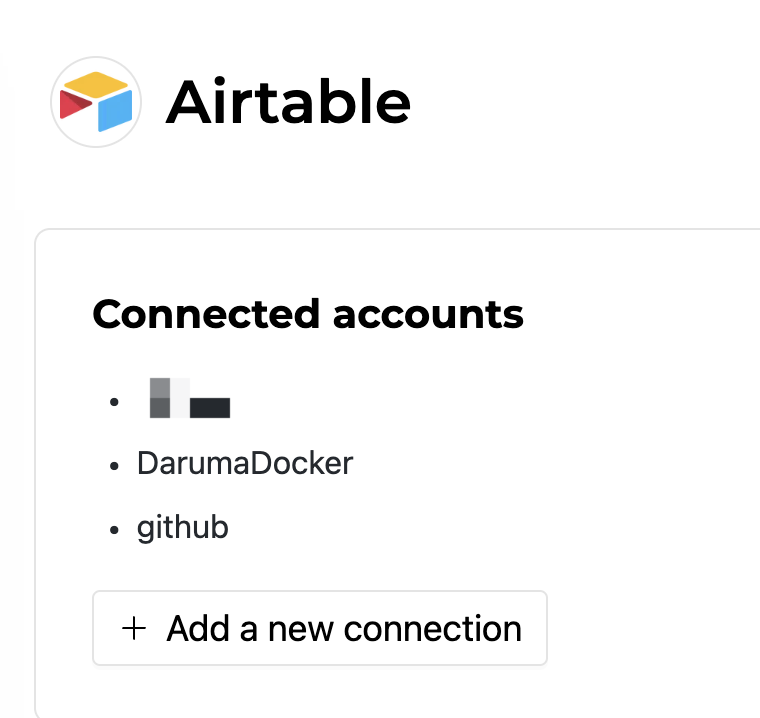
That’s it. Remember your Airtable API token name because you will use the name when you create a flow.